
One of the many projects we’re
working on this winter re-adhearing the headliner in the v-berth and our cabin. The problem first showed
itself ten years ago but, in reality, it started from day one with a poor
design. We love our Westerly. It’s a solidly built boat, above and
below the decks. The company put everything they had into the Ocean 43 and 49,
including higher-end finishes. But some of their ideas fell short and the
headliner’s one of them.
It looks nice and adds warmth to the boat, but it’s
a foam backed vinyl material that was glued to the cabin top and (in some
places) to the sides of the hull. Foam backed headliners aren’t uncommon on
boats; but, over time, the foam and the glue break down leaving behind a
sagging eyesore. Removing it is an
arduous and messy process that involves sanding the surface, scraping the residue from the hull
or cabin top, purchasing new headliner material and gluing it back with a toxic
smelling adhesive spray – not something you necessarily want to do, especially
if you live aboard. So we had to find
another option.
David’s a man who likes to take his time working
through a problem before devising a plan, and the headliner was no
exception. Glue wasn’t going to do the
trick, so we took the easy way out – we propped the headliner up with pillows
and cushions and left it for another day.
 |
| Step One: Prop up the headliner and ignore the problem. |
It wasn’t until we were moored in San Diego a year later that the idea struck
him. Durasnaps! The little upholstery buttons that fit over a
screw stud to give it a finished look.
They were already part of the headliner design, so we would simply
extend it. From there, a plan was
born. David came up with a measurement
for the thickness of the cabin top and laid out a pattern on paper while I
sourced the Durasnaps.
 |
| Step Two: David installs screws and cups in a pattern he designed that follows what already existed on the boat. You can see the original Durasnaps in the photo behind him. |
 |
| Step Three: Working forward, David continues the pattern. |
 |
| Step Four: The finished result. |
We started in the forward berth and, every now and then, we’d have to fix a similar problem in other areas of
the boat. But the salon and galley had us scratching our heads for years.
Because the deck hardware comes through the hull in these places, there are
several bolts to work around and the ‘roof line’ is uneven and tricky to work
with. So David had to come up with a plan. After a lot of back and forth, he
created a design to attack the problem – use the Durasnaps to hold the
headliner along the smooth areas and a piece of oak trim to hide the sections
that get messy (at the corner of the cabin top and hull). To give the trim work
a functional purpose, he decided to add ambient LED lighting.
Here’s how he did it:
 |
| The starboard side of the salon before. |
 |
| David securing the headliner and drilling the pilot holes (left and center). The first row of Durasnaps (right). |
1.
Measure,
measure and, then for good measure, measure again.
2.
Draw
up a complicated set of plans.
3.
Glue
or screw a corner of the headliner in to hold the edge and get the job under
“control”.
4.
Layout
the design for the Durasnaps.
5.
Drill
the pilot hole and pray that your measurements were correct so that you don’t
go through the hull or cabin top.
6.
Screw
in the Durasnaps.
 |
| David adding the lights to the backing block on the port side. |
7.
Measure,
cut, route and varnish the trim work to match what’s already on the boat.
8.
Install
the backing piece for attaching the trim work.
9.
Add
the lighting strips to the backing piece.
 |
| David making up the 12 volt connection and wiring the starboard side. |
10.
Wire
the LED lights into the house lights.
11.
Add
the piece of trim work.
12.
And
voilà, Bob’s your uncle!
So far, we’ve only done the salon and galley, but
have finally summoned up the courage to attack the v-berth and our cabin. If
all goes well, I should have another blog post and some more pictures to share
soon. Until then, watch this space.
 |
| The starboard side of the salon after. |
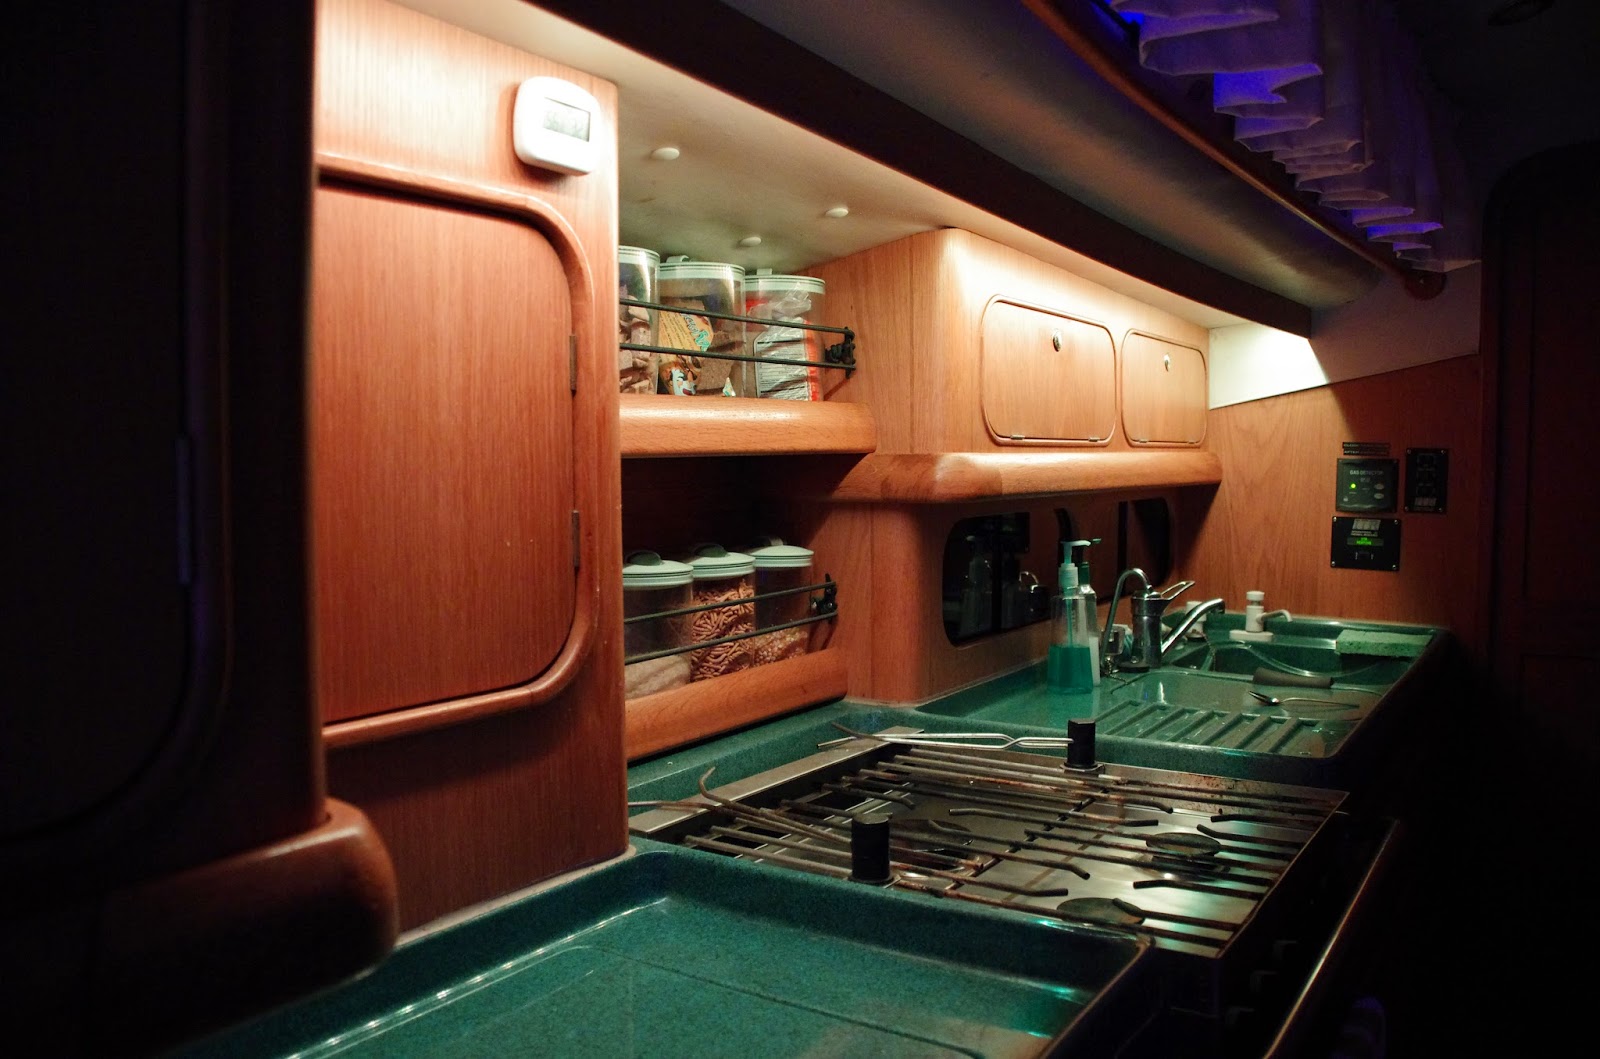 |
| The galley after. |
Do you have any boat projects
going on this winter? Join the conversation below in the comments section or on
our Facebook page. We’d love to hear from you.


4 comments
That looks great! The headliner in our aft cabin is sagging. It's one of those "maybe one day" projects. We've got way too many boat projects going on as it is. Whoever buys your boat is going to be very lucky considering all of the quality work that the two of you have done on it.
ReplyDeleteThanks, Ellen. I hope that's the case. We do love this boat and want anyone who takes the time to come see it know that she's been cared for over the years.
DeleteOMG, the horrible headliner project! If there was one thing on Irie we never hoped to have to do, it was headliner work. And, we lucked out. We never had to touch it, except for some cleaning. Happy to report we do not have any boat projects on the list this winter! :-)
ReplyDeleteLol. That has to be the number one best thing about NOT living/cruising on a boat -- no boat projects! Yeah, headliners can be a nightmare to repair. Luckily, they did it right throughout most of the boat so we didn't have to completely reinvent the wheel.
Delete